
So, you have your NodeJS API running using the ExpressJS framework. If not, check out my guide on how to quickly and easily set it up. Now the time has come to lay the foundation of a good API documentation using Swagger. By adding the Swagger UI tool to our API, we will also be able to test our endpoints as we develop it. This is what this post will cover:
- Install Swagger on our ExpressJS API
- Configure our API to use Swagger
- Add inline code documentation for each endpoint
- …profit!
To follow this guide, you need to have an ExpressJS API configured and running locally. If you don’t, fear not. Simply follow my guide on how to set it up. This post will continue using that code base.
Installing dependencies
First, open a command line and cd into your existing project folder (assuming it is named myApi):
cd myApi
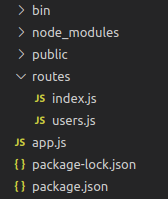
From the previous guide, we have this project structure generated by the express-generator tool:
To start, install the two dependencies we need for the swagger inline documentation and UI tool to work:
npm install swagger-jsdoc --save
npm install swagger-ui-express --save
As a side note, the appended –save will make sure the dependency is added to our package.json file. It is good practice to maintain the list of dependencies for our project. As an added benefit, this makes it possible to collaborate with other as they can simply type npm install to get all the local dependencies for this project.
The swagger-jsdoc package makes it possible to add inline JSDoc in our code files. It is smart to keep our API documentation close to our endpoint definitions. This makes it easier to keep our documentation up to date.
The swagger-ui-express makes it possible to serve the auto-generated Swagger UI API documentation based on our inline JSDoc.
Configure our API to use Swagger
Now, to configure the Swagger UI, open the app.js file in your favorite editor. First we need to require() the dependencies we just installed:
var swaggerJsdoc = require("swagger-jsdoc");
var swaggerUi = require("swagger-ui-express");
Next, use this code snippet to properly set up the swagger-jsdoc. It should be placed just before our route definitions:
// ------ Configure swagger docs ------
var options = {
  swaggerDefinition: {
    info: {
      title: "My API",
      version: "1.0.0",
      description: "My API for doing cool stuff!",
    },
  },
  apis: [path.join(__dirname, "/routes/*.js")],
};
var swaggerSpecs = swaggerJsdoc(options);
There are a couple of things going on here. First an object called options is defined, containing our API title, version and a description. Feel free to change this to suit your project.
Also in the options object is a reference to where the swagger-jsdoc component should look for inline API documentation. Since we plan to keep our documentation where we define our endpoints, we specify that it should look in all the .js files in our /routes folder.
In the last line in the code snippet above we initiate the swagger-jsdoc with the options object.
Only one more thing is needed for the auto-generated swagger UI to be ready. Add a route for the UI below the /users route:
app.use("/swagger", swaggerUi.serve, swaggerUi.setup(swaggerSpecs));The whole app.js file should now look like this:
var express = require("express");
var path = require("path");
var cookieParser = require("cookie-parser");
var logger = require("morgan");
var swaggerJsdoc = require("swagger-jsdoc");
var swaggerUi = require("swagger-ui-express");

var indexRouter = require("./routes/index");
var usersRouter = require("./routes/users");

var app = express();

app.use(logger("dev"));
app.use(express.json());
app.use(express.urlencoded({ extended: false }));
app.use(cookieParser());
app.use(express.static(path.join(__dirname, "public")));

// ------ Configure swagger docs ------
var options = {
  swaggerDefinition: {
    info: {
      title: "My API",
      version: "1.0.0",
      description: "My API for doing cool stuff!",
    },
  },
  apis: [path.join(__dirname, "/routes/*.js")],
};
var swaggerSpecs = swaggerJsdoc(options);

app.use("/", indexRouter);
app.use("/users", usersRouter);
app.use("/swagger", swaggerUi.serve, swaggerUi.setup(swaggerSpecs));

module.exports = app;
Now, let’s see how it looks. In your command line, run:
npm start
And navigate to localhost:3000/swagger.
Pretty cool! We now have an auto-generated Swagger UI served on our /swagger endpoint. You will recognize the title, description and version we specified earlier.
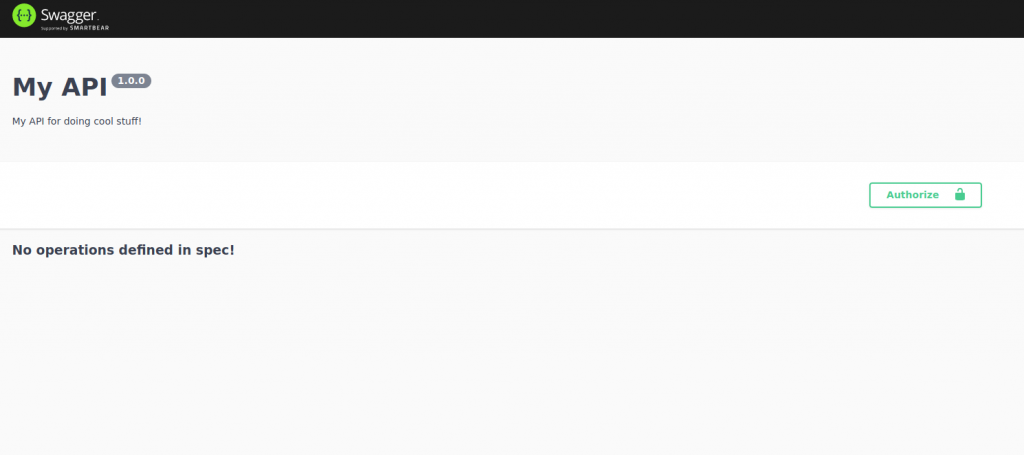
But as you can see, the UI is not particularly useful just yet. Let’s add some JSDoc for our endpoints.
Adding endpoint documentation
Lets start by documenting our welcome page endpoint. Open the /routes/index.js file and add some JSDoc above the endpoint definition. It should look like this:
var express = require("express");
var router = express.Router();

/**
 * @swagger
 * /:
 *  get:
 *      description: Returns html for the default ExpressJS welcome page.
 *      responses:
 *          200:
 *              description: html content
 */
router.get("/", function (req, res, next) {
  res.render("index", { title: "Express" });
});

module.exports = router;
As a side note, the content of the JSDoc should always start with a @swagger. This will make the swagger-jsdoc package able to understand that the following should be considered API documentation.
Also, the actual documentation follows YAML syntax, so be mindful of your spaces and tabs. I prefer using the swagger editor http://editor.swagger.io/ to find examples and make sure my documentation compiles.
While we are at it, lets add documentation for our /users endpoint as well. The /routes/users.js file should look like this:
var express = require("express");
var router = express.Router();

/**
 * @swagger
 * /users:
 *  get:
 *      description: Get all users. Not yet implemented.
 *      responses:
 *          200:
 *              description: Users of this application. Placeholder string for now.
 */
router.get("/", function (req, res, next) {
  res.send("respond with a resource");
});

module.exports = router;
Obviously, our implementation of the /users endpoint does not deliver what the documentation promises now as it only responds with some string saying respond with a resource. But that is out of the scope of this post.
Check it out
Finally! The moment we have been waiting for has come! Open your command line again and make sure to stop the server if it is still running (ctrl + c will do the trick). Then start it again:
npm start
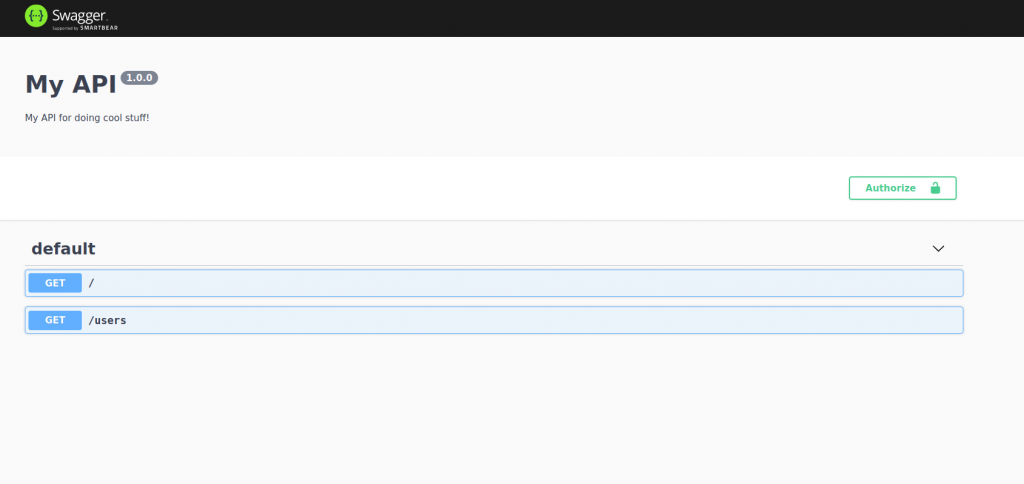
When we navigate to our Swagger UI in our browser at localhost:3000/swagger, two rows have appeared. Expand the root path / by clicking it. We can see the description and response being populated as we specified in the JSDoc. Wonderful!
Additionally, we can perform requests to our API from this UI. Click the “Try it out” button to the right, and then click the Execute button appearing below. The request is being processed by our API and the response is displayed in the UI. If you scroll down to the Response body section, you will notice the same HTML content as we have in our public/index.html file.
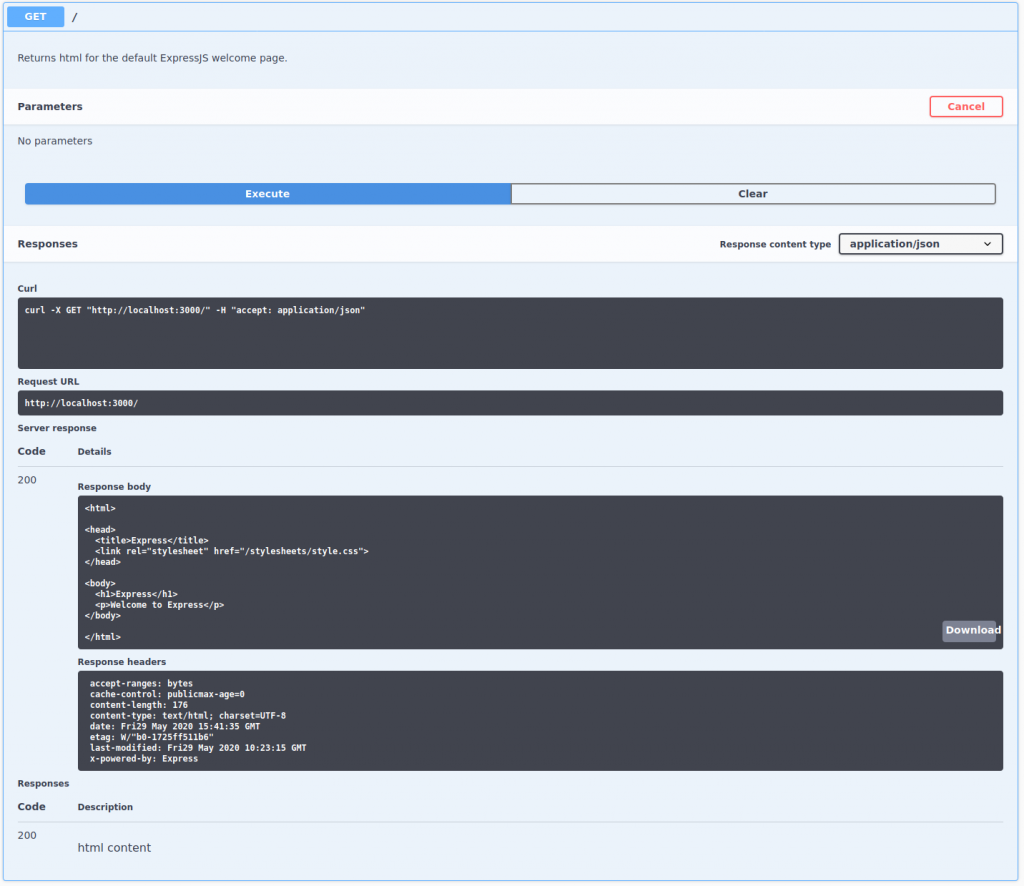
It’s all connected! Pretty darn cool! Try the /users endpoint out as well.
Conclusion
We have created a NodeJS API that is documented and possible to test while developing. Next, we will build on this and add endpoints with more in-depth documentation for both POST and DELETE endpoints. Stay tuned!